


This is a companion blogpost to our report “A Digital Prison” – Surveillance and the Suppression of Civil Society in Serbia.
Amnesty Security Lab has published Indicators of Compromise (IOCs) for the NoviSpy spyware application. This tutorial explains how to use AndroidQF Android Quick Forensics (androidqf) and Mobile Verification Toolkit (MVT) to examine an Android device for traces of these indicators.
The Mobile Verification Toolkit (MVT) is an open-source toolkit for conducting forensics, developed by Amnesty International and maintained in collaboration with other organisations.
Note: While AndroidQF and MVT can be used by technically-capable individuals to check their own devices against public indicators, their intended use is as tools for forensics experts. All outputs of the tool(s) should be interpreted by experts before concluding if a device has been targeted or not.
MVT and AndroidQF are open-source projects, as such the methodology and techniques contained therein are public to everyone, including to threat actors who seek to avoid detection.
If you are a member of civil society (e.g. journalist, activist or human-rights-defender) who has:
- Concerns that a device seized by authorities was accessed and/or infected, or
- Otherwise has concerns that they may be a target of current spyware campaigns
it is highly recommended that you request analysis of your device by our Security Lab via our Get Help page or other trusted expert forensics labs.
The following guide uses AndroidQF which collects the greatest amount of forensic data on Android. MVT also supports checking an Android bugreport using the mvt-android check-bugreport command. The bugreport option is recommended if you need to collect forensic data remotely or are not comfortable with command line tools.
Step 1: Install MVT
Follow the MVT user documentation to install MVT on your device.
Please note the system requirements – currently only Linux and macOS are supported – Windows is not officially supported at this time. This tutorial will use Ubuntu 24.04 LTS, but similar steps can be followed for other distributions.
Install the required dependencies:
sudo apt install -y python3 python3-venv python3-pip sqlite3 libusb-1.0-0So that MVT can be installed system-wide, install and configure pipx:
sudo apt install -y pipx
pipx ensurepath 
As advised by the terminal output, close the current terminal window, and open a new terminal window.
To install the latest version of mvt, run the following:
pipx install mvt
Confirm that mvt has been correctly installed by running:
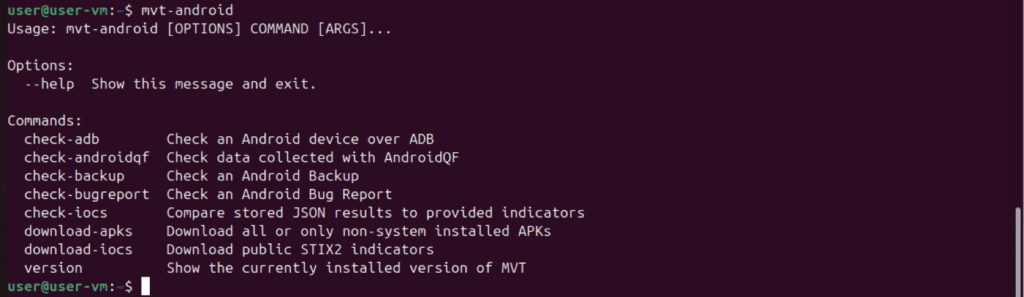
mvt-android –help The help output should be displayed as shown:
Step 2: Download ADB
Android Developer Bridge (ADB) is required. On Ubuntu 24.04, we can install adb from the default repositories:
sudo apt install -y adb Note: Some Linux distributions/versions provide an outdated version of adb. If you encounter problems, it may be necessary to download the latest tools from Google here https://developer.android.com/tools/releases/platform-tools. androidqf requires `adb` to be present on the PATH – if installing manually, you may need to add the directory containing the platform tools binaries to your PATH variable.
Step 3: Download AndroidQF
Download the latest AndroidQF binary from GitHub AndroidQF releases page.
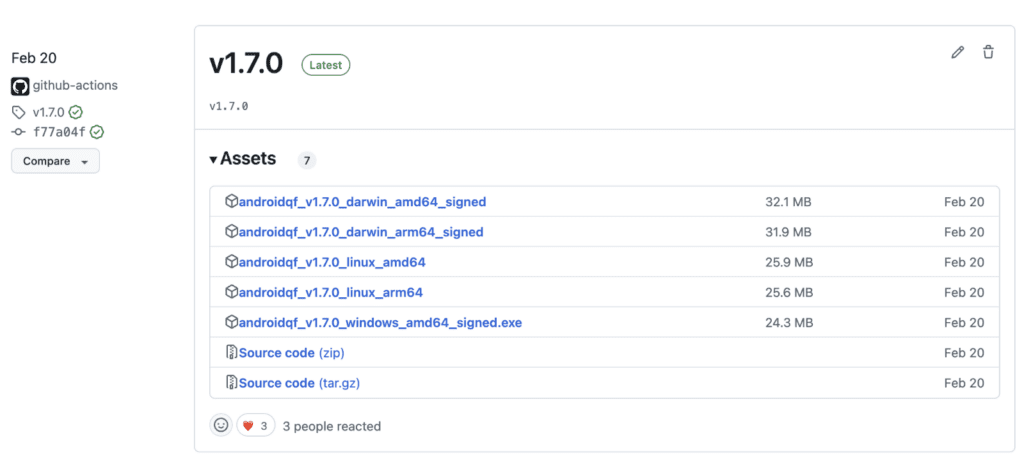
Note: make sure to download the latest version of `androidqf` from `mvt-project`. This is the actively maintained fork of androidqf.
On our example Ubuntu VM, we will choose to download the `linux_amd64` variant, but the remaining steps should be the same for other architectures.
Back in a terminal window, navigate to the folder where you downloaded the `androidqf` binary file, and make it executable:
cd ~/Downloads
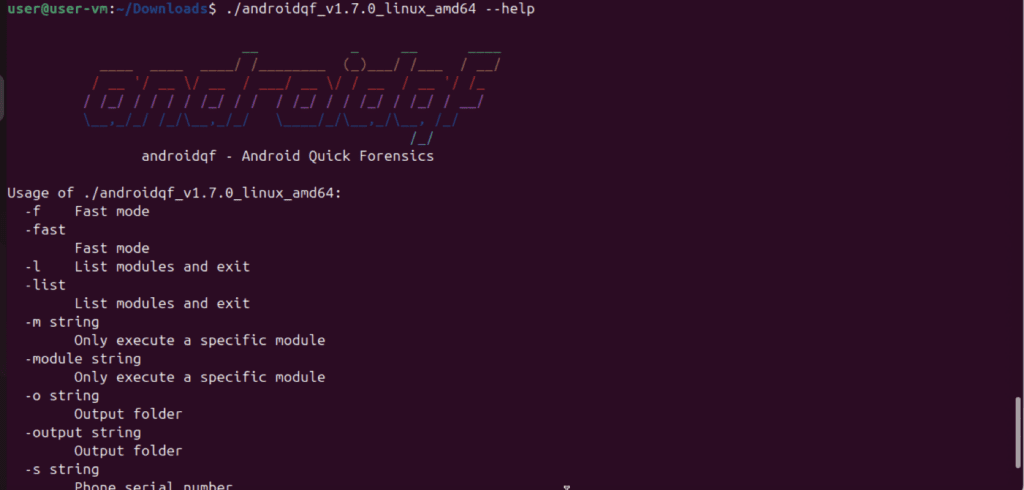
chmod +x ./androidqf_v1.7.0_linux_amd64 Now check that androidqf has been configured correctly by executing the binary with the `–help` flag:
./androidqf_v1.7.0_linux_amd64 –help The help text should be displayed:
Step 4: Enable “Developer Mode” & “USB Debugging” on the Android device
This step will vary depending on the manufacturer of the device and the version of Android. The instructions below are for a Google Pixel device. Instructions for enabling Developer Mode for several other manufacturers is available here: https://developer.android.com/studio/debug/dev-options#enable
Open the Settings app, and navigate to “About phone”.
Find the entry at the bottom “Build Number”. Repeatedly tap on the Build Number, until the message “You are now a Developer!” appears. You may be prompted to re-enter the device passcode or provide biometrics.
Navigate backwards to the top level settings page. Navigate to “System -> Developer Options”.
Scroll down and enable the option “USB debugging”:
Step 5: Create an AndroidQF acquisition from the device
Connect the device via USB cable. You may see a prompt on the Android device to permit the computer to connect – press Allow:
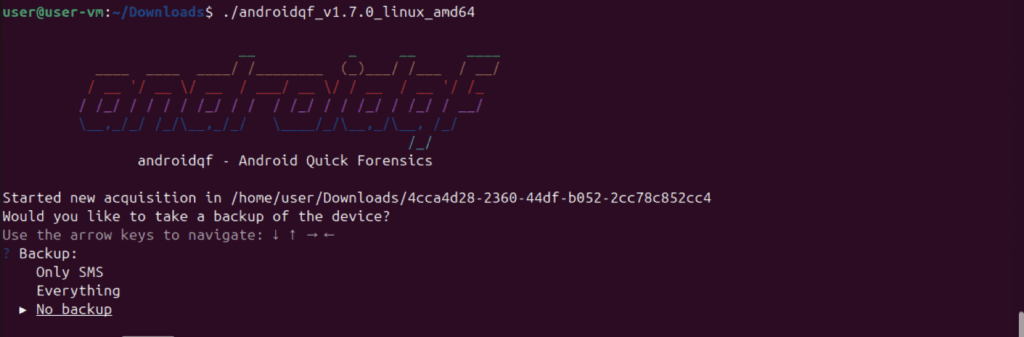
To begin the acquisition, run androidqf from the directory in which you downloaded it, without any arguments
./androidqf_v1.7.0_linux_amd64 Keep the device screen unlocked and in view during the acquisition. If error messages are shown, ensure that you have selected “Allow” on any popups requesting permission for USB debugging from the device.
When prompted for the “Backup” option, use the keyboard arrows to select “No backup”:
When prompted for the “Download” option, select “Only non-system packages”:

Select “Yes” to remove copies of trusted apps:

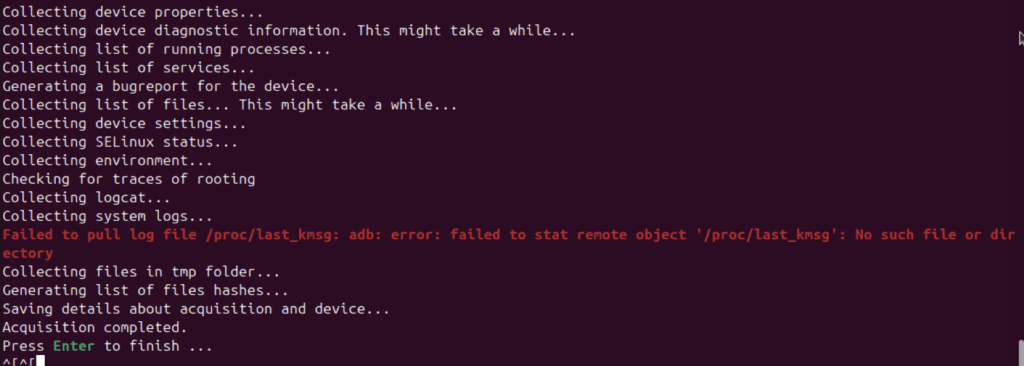
Note: The device may vibrate while diagnostic information is being generated. This is expected.
After some time the process will complete – press Enter to continue:
The acquisition folder which we will check with MVT can be found in the same folder as we ran androidqf in – the folder title is a random UUID:

Step 6: Download the latest MVT indicators
With MVT already installed, ensure that the latest indicators are downloaded and installed:
mvt-android download-iocsStep 7: Run check-androidqf
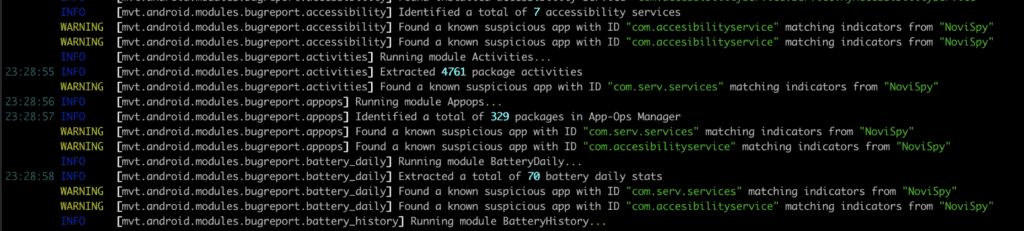
Run the following command to check the androidqf acquisition with MVT:
mvt-android check-androidqf <path/to/acquisitionfolder>If NoviSpy has been detected on the device, one or more of the following lines with appear in the output:
Step 8: Advice
If NoviSpy is detected by public indicators:
- If NoviSpy is detected on the device of a member of civil society, it is strongly recommended to contact a trusted civil society forensics lab, such as Amnesty’s Security Lab for confirmation of the infection, and advice on steps they should take to remove the infection.
If NoviSpy is not detected by public indicators:
- The non-detection of NoviSpy does not confirm the absence of a NoviSpy infection on the device – it merely means that no matches were found against known public indicators.
In particular, members of civil society whose devices were taken into the possession of authorities for any amount of time should contact a trusted forensics lab, such as Amnesty Security Lab or Access Now, so that a thorough examination of their device can be conducted.
Members of civil society who have a concern that they may have been targeted by NoviSpy or other types of spyware are also strongly advised to get in contact.